
How to Convert PNG to JPG Without Losing Quality: 7 Methods That Work
CloudConvert is the fastest online option for PNG-to-JPG without visible quality loss. Squoosh runs entirely in your browser.
Step-by-step
Pick a PNG-to-JPG converter that matches how you work
If you only need to convert one or two images and you are okay with uploading them, an online tool like CloudConvert is fastest — no install, no account required for small files. If you would rather keep files on your computer (privacy matters, or you have slow upload), Squoosh runs entirely in your browser. For a desktop app that handles dozens of files at once, iMazing Converter is the top choice among our benchmarks. Match the tool to the situation rather than forcing every job through one workflow.
Set the JPG quality slider before converting
JPG is a lossy format, so some quality is always lost — but the amount depends entirely on the quality slider value you choose. 85 is the standard trade-off point where most viewers cannot see a difference from the source PNG. Higher values (90-95) preserve more detail but produce 50-100% larger files; lower values (70-75) create visible artifacts around text and sharp edges. On CloudConvert, drag the quality slider to 85 for photos and to 90 for graphics with text. On Squoosh, the same controls appear in the right-hand panel with a live preview.
Decide what to do with transparent backgrounds
JPG does not support transparent backgrounds, so any transparent area in your PNG becomes either white or black depending on the converter's default. If your PNG has a transparent background (a logo, an icon, an overlay) and you need to preserve that transparency, JPG will not work — convert to WebP instead, or use a tool that gives you a background color choice. CloudConvert asks you to pick a background color before conversion, which prevents the most common gotcha. For a live preview of the flattened result, use Photopea in the browser.
Upload or drag your PNG file into the converter
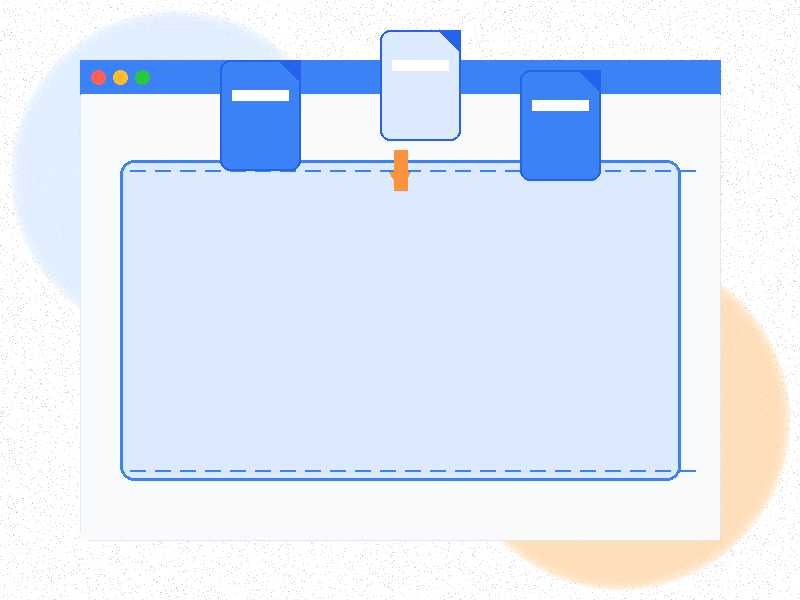
On CloudConvert, click 'Select files' and pick one PNG or drop several files at once for batch conversion. The free tier allows up to 10 conversions per day without an account, which is enough for most casual users. Files are uploaded over HTTPS and deleted automatically after conversion. If you are working with confidential images, use Squoosh instead — it processes everything client-side, meaning your files never leave your computer. Both tools handle PNGs up to 100MB without issues on the free tier.
Choose JPG as the output format and quality
Most converters default to the right format if you select JPG from a dropdown. On CloudConvert, pick JPG from the format dropdown, and adjust the quality slider — 85 is a good middle ground that keeps visual quality while shrinking files noticeably. For photos, 80-85 looks identical to the original at normal screen sizes. For graphics with text or fine gradients, bump the quality to 90-95 to avoid visible artifacts. Squoosh shows a real-time file size estimate as you drag the quality slider, which makes picking the right value easy.
Run the conversion and download the JPG

Click 'Convert' and wait — single-file conversion takes 5-15 seconds. The download link appears on the same page; CloudConvert also emails the file if you have created an account. Verify the file opens correctly on your computer before deleting the original PNG. On a successful conversion the JPG should look nearly identical to the original PNG except for any transparent areas. File size typically drops 60-80% compared to the PNG. If the file looks wrong, re-export at a different quality setting without re-uploading — most tools keep the upload cached for a few minutes.
Use batch mode for multiple files at once
If you have a folder of PNGs that all need converting, CloudConvert and iMazing Converter support batch uploads. On CloudConvert, drag a whole folder into the upload area; on iMazing Converter, point the app at a directory and it processes every PNG inside, saving JPGs alongside the originals or to a chosen output folder. For huge batches (hundreds or thousands of files), use XnConvert on desktop or ImageMagick CLI — both run entirely locally and process 1000+ files per minute. Batch mode saves significant time versus converting files one at a time.
Convert on iPhone using Shortcuts or a native app
On iPhone, the built-in Shortcuts app is the strongest native path. Create a new shortcut with the Select Photos and Convert Image actions, save it to your Home Screen, and one tap converts any PNG in your library to JPG. Shortcuts runs entirely on-device, so files never leave your phone. For batch jobs, install iMazing Converter from the App Store — the iOS version processes folders of PNGs locally with no upload. Avoid the round-trip through Files and Photos for routine conversions — the dedicated shortcuts path is faster and stays private.
Convert on Mac using Preview or Automator
On Mac, Preview is the fastest single-file converter most users already have. Open the PNG in Preview, choose File → Export As → JPEG, drag the quality slider to about 80-85%, and click Save. For folder batches, use Automator (built into macOS) to create a Quick Action that converts PNGs to JPG with one right-click in Finder. Automator handles folders in seconds and never uploads anything. For scripted workflows, the built-in `sips` command does the same job from Terminal: `sips -s format jpeg -s formatOptions 85 *.png --out ~/Desktop/jpg-output/`.
Convert on Windows using Photos or IrfanView
On Windows 10/11, Microsoft Photos handles one-off conversions: open the PNG, click the three-dot menu, then Save As → JPEG with the quality slider at 85. For batches, install IrfanView — its File → Batch Conversion dialog (press B) processes hundreds of PNGs at once with one quality setting, shows a live preview of file sizes, and runs entirely offline. XnConvert is a modern alternative with a friendlier interface and similar batch capabilities. Both are free and process hundreds of files per minute.
Verify quality before deleting the originals
Open both the original PNG and the new JPG side by side at 100% zoom. Look for compression artifacts around text, fine lines, and gradients — the areas where JPG loses the most data. Squoosh makes this comparison easier with a side-by-side preview pane built into the tool. If quality matters for print or professional use, increase the quality slider to 90-95 in step 5. Once you are satisfied, delete the PNGs only if you are sure you do not need transparency or lossless quality later. For recurring conversions, save the converter's settings as a preset so future jobs run with one click and consistent quality.